The best part about it is the paper comes pre-cut to the exact size of the chipboard book. And the book and the paper are $1.50 each. You could use one pad of paper and it would be plenty for three books, maybe four.
The girls loved it!
I am going to be giving the kits out for gifts this year to my neices.
Here is the link for purchasing the mini-albums and paper. They are running a whole lot of great deals on holiday stuff. Click on the Nifty $1.50 link.
The albums:
http://www.scrapbookpaper.com/tek9.asp?pgID=&pg=products&grp=380
The paper:
http://www.scrapbookpaper.com/tek9.asp?pgID=&pg=products&grp=397
The holiday sale stuff:
http://www.scrapbookpaper.com/tek9.asp?pg=products&grp=15&pgID=1
And here are the instructions for the album, e-mail me if you have any questions.
You and Me Mini Album
Supplies needed (30 books):
30 loopy brads
60 green tags
60 white tags
30 5.5 by 2.5 inch white papers
120 circle punches
30 daisy punches
60 heart punches
30 hole punches
30 folder tabs
30 folder tab centers
30 yards ribbon cut into 4 inch pieces
Stuff to bring
Hole punches
Sanding discs
Credit cards (for glue) Q-tips for glue.
Misc punches
Scissors
Instructions
Cover:
Slightly sand cover, to bring out the debossed words. Circle dot paper, trim to 2.5 inches.
Purple strip ½ inch, adhere to bottom of circle dot paper.
Adhere white circle punch, and heart punch.
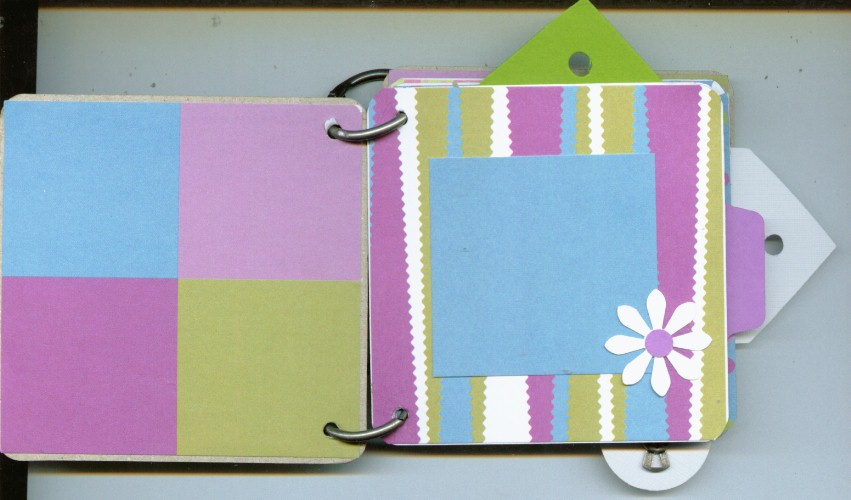
Page one:
Four square paper, adhere, round corners.
Zig-zag stripe, stripes going vertically.
Trim solid aqua paper to 2.5 x 2.5. Adhere, add daisy and center.
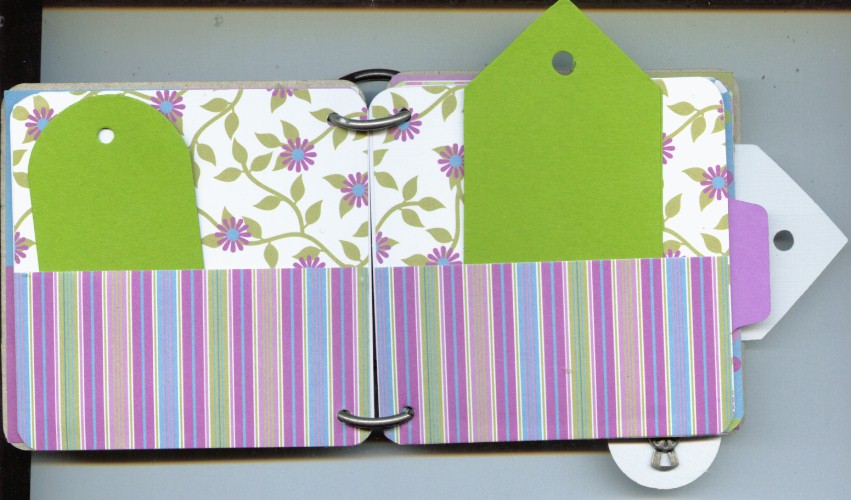
Page Two:
Couch floral, adhere, round corners
Shirt stripe, cut in half stripes running vertically. Glue outer three perimeters ONLY adhere, makes a pocket. Add ribbon to triangle tag, place in pocket.
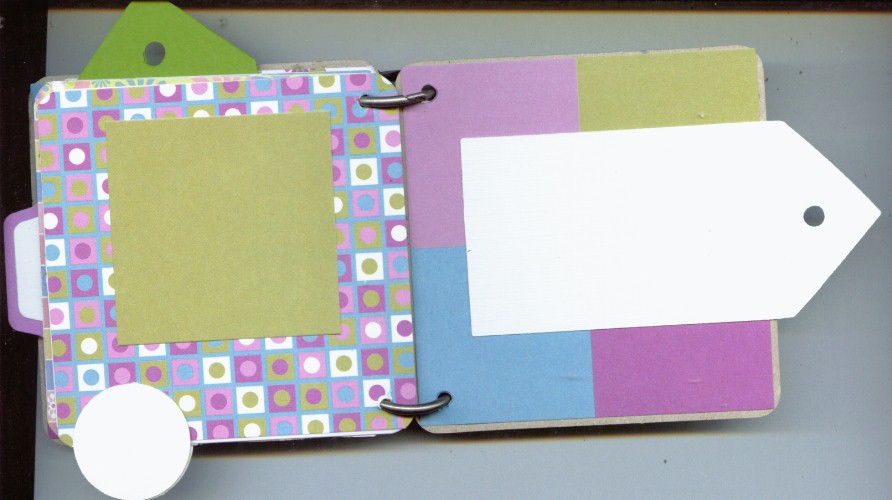
Page Three:
Polka dot paper, adhere.
Paper tag trimmed 5.5 by 2.5, corners rounded. Fold in half, place flap side down and adhere. Adhere file tab, and center.
Trim pin stripe to ½ inch stripes run vertically. Stripes running horizontally. Add to opposite page, add circle and heart.
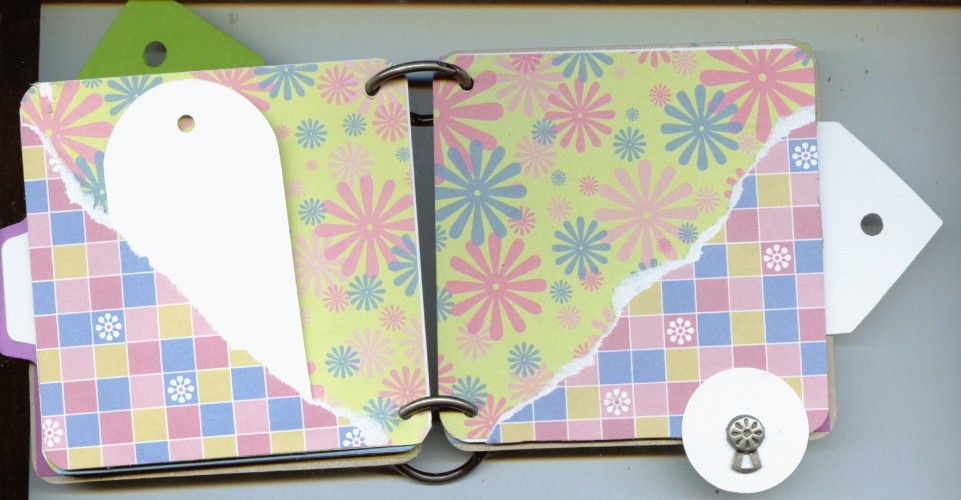
Page Four:
Retro flower, adhere.
Retro blocks, cut in half on the diagonal. Tear. Adhere outer edges only (to make pocket) insert tag.
Poke hole in the center of white circle. Add ribbon to loopy brad. Add brad to circle. Glue to page. *
Page Five:
Circle dot paper adhere.
Trim green paper to 2.5 by 2.5 adhere.
Glue circle on top of facing page circle. Sandwich in brad.
Four square paper, adhere.
Adhere white tag.


6 comments:
Great project. Thanks for sharing the instructions and pics!
Cute little books. My 18-yo said they'd be good to put all the little 2x3 photos and wallet sized photos the kids all exchange of each other. Thanks for sharing.
aimes
thanks for the info. These are beautiful; great for teachers etc. TFS!
Supa cute!
Those are really cute! Thanks for sharing all the 411 on making them.
Super Cute! My dd has one JUST like it that someone taught in YW. ;)
Post a Comment